
Pre-construction is 70% of the work; the build itself is simply the execution of a well-designed plan. If you're feeling overwhelmed by conflicting zoning rules or the fear of getting stuck in permit purgatory, you aren't alone. Most homeowners start with an exciting design idea but quickly realize that the path to breaking ground is a complex maze of "soft costs" and local regulations. This guide provides a definitive adu pre construction checklist to help you master every step between your initial concept and the first day of construction.
Success starts with data. You deserve a clear, linear path that eliminates the anxiety of budget overruns and technical errors. We've organized the essential milestones for 2026, from verifying four-foot setback requirements to navigating the five separate departments often involved in a municipal review. You'll learn how to lock in your project's feasibility, stabilize your financial planning, and prepare for a successful contractor match. By the time you finish this roadmap, you'll have the tools and data needed to ensure your project is shovel-ready and built on a foundation of professional readiness.
Step 1: Confirming Site Feasibility and Local Zoning Rules
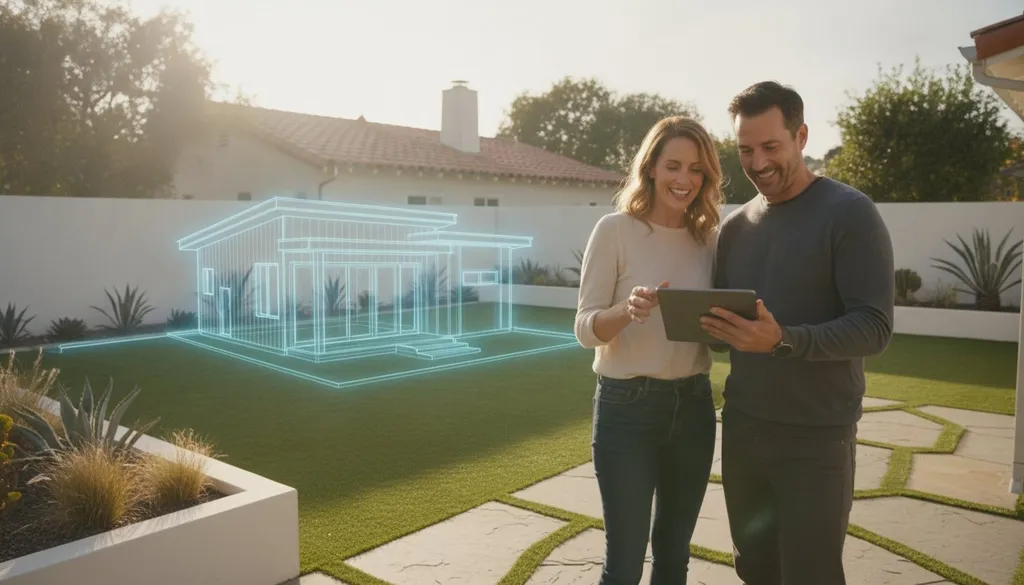
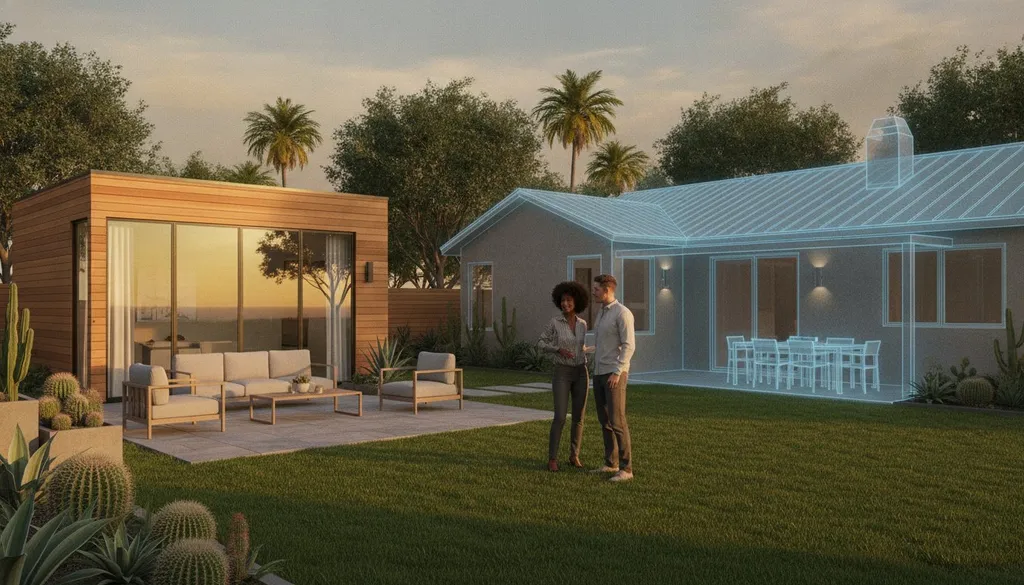
Success begins with feasibility. This term describes the intersection of legal right and physical possibility. If you can't clear this hurdle, the rest of your adu pre construction checklist remains theoretical. Zoning is your first major obstacle because it dictates exactly where and what you can build. Cities use specific metrics like setbacks, height limits, and lot coverage to control density. For example, California state laws generally mandate a minimum of four feet for rear and side setbacks. If your backyard is too narrow to accommodate these gaps, your project may require significant design adjustments before it ever reaches the permitting office.
You must also decide between a detached ADU and a Junior ADU (JADU). A detached unit is a standalone structure, while a JADU is contained within the footprint of your existing home and is limited to 500 square feet. Beyond these categories, check for "invisible" constraints. Utility easements can prevent you from building over specific portions of your lot, and protected trees, such as certain oak species in California, can halt a project if the root zone is disturbed. Identifying these factors early prevents expensive redesigns later.
Navigating California Zoning Laws
California has passed several laws that override restrictive local zoning, making it easier for homeowners to build. While state law provides a baseline, individual cities still have some say over aesthetics and specific placement. You should prioritize understanding how state-mandated four-foot setbacks impact your available building envelope. To get clarity on your specific jurisdiction, use the ADUDesk Local Rule Checker (opens in a new tab). This tool helps you verify city-specific regulations that might differ from general state guidelines, ensuring your initial site plan is accurate and compliant.
Technical Site Assessment Essentials
Once you understand the legal landscape, you must evaluate the physical ground. A technical assessment identifies potential "deal-breakers" that aren't visible on a map. Focus on these three critical areas:
- Underground Utilities: Locate your sewer, water, and gas lines. Building over a main line is usually prohibited and moving these pipes can cost thousands.
- Soil and Slope: Evaluate the stability of your soil. If your property has a steep slope, you'll likely face higher foundation costs and may require a specialized structural engineering report.
- Electrical Capacity: Most modern ADUs are all-electric. Determine if your current electrical panel can handle the increased load. If you have an older 100-amp panel, you'll likely need an upgrade to a 200-amp service to meet modern building codes.
Completing these technical checks early in your adu pre construction checklist ensures that your budget remains realistic. It's much better to discover a soil issue during a site walk than during excavation when the heavy machinery is already on the clock.
Step 2: Building Your Pre-Construction Budget and Financing
A successful build requires more than just a quote for lumber and labor. Your adu pre construction checklist must account for the distinction between "hard costs" and "soft costs." Hard costs cover the tangible materials and construction labor. Soft costs involve the professional services and administrative requirements that occur before a shovel hits the ground. In California, these soft costs, including architectural plans, structural engineering, and city fees, typically add between $25,000 and $50,000 to your total investment.
One critical financial milestone is the 750 square foot threshold. California state law mandates that local agencies waive impact fees for ADUs smaller than 750 square feet. If you're building a unit at 749 square feet, you could save thousands compared to a slightly larger 800-square-foot model. Regardless of the size, always apply the "20% Buffer Rule." Setting aside a contingency fund of 10% to 20% of your construction budget is essential to cover unforeseen site conditions, such as hidden drainage issues or soil instability discovered during excavation.
Your payment schedule is your best protection. Never pay 100% of the project cost upfront. Instead, structure your contract around specific milestones, such as foundation completion, framing, and final inspection. This ensures you only pay for work that has been verified and approved by the city inspector.
Identifying Hidden Soft Costs
Budgeting for the build is only half the battle. You must also factor in technical reports required for permit approval. This includes Title 24 energy reports and structural engineering stamps, which ensure your unit meets California's strict efficiency and safety standards. Utility connection fees are another common surprise. Depending on your local jurisdiction, splitting a water meter or upgrading a sewer lateral can add $5,000 to $15,000 to your budget. If your property lines aren't clearly recorded, a professional survey is a mandatory expense to avoid legal disputes with neighbors.
Securing Your ADU Financing
Choosing the right funding source depends on your current equity and long-term goals. Common options include Home Equity Lines of Credit (HELOCs), which currently range from 7.5% to 9.5%, or fixed-rate Home Equity Loans between 7.25% and 8.75%. A growing trend in 2026 is financing based on After-Renovation Value (ARV). This allows you to borrow against the future value of your home with the ADU included, which is helpful if you don't have significant existing equity. When preparing your financial folder for lenders, include your preliminary site plans and a detailed cost breakdown. To get an accurate baseline for these figures, you can use a data-driven ADU Cost Calculator (opens in a new tab) to align your expectations with current market realities.
Step 3: Managing the Design and Permitting Phase
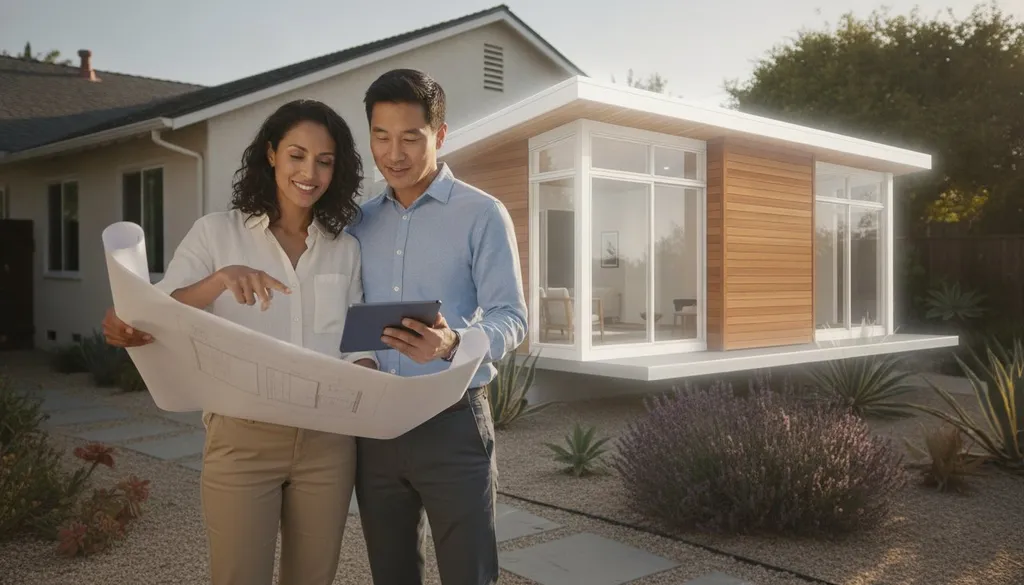
Moving from a rough idea to a set of buildable blueprints is a technical progression. This phase of your adu pre construction checklist involves three distinct stages. First is Schematic Design, where you establish the basic layout and orientation on your lot. Next is Design Development, where you finalize materials, window placements, and interior finishes. Finally, your team produces Construction Documents. These are the highly detailed plans that include structural engineering and electrical layouts required for city approval and actual construction.
You must choose between custom designs and pre-approved plans. Many California cities now offer "standard plans" that have been vetted for code compliance. Choosing a pre-approved plan can significantly shorten your timeline and reduce architectural fees. However, if your lot has a unique shape or you want a specific aesthetic, a custom design is necessary. Regardless of the path you choose, remember that California building codes require ADUs to have fire sprinklers if the primary residence is already equipped with them. This is a critical detail that impacts both your plumbing design and your total budget.
Creating a Functional ADU Floor Plan
Effective ADU design prioritizes "living large" in a small footprint. Focus on multi-functional spaces, such as kitchen islands that double as workstations, and utilize vertical storage to keep floor areas clear. Because regulations vary by city, you should consult specific regional standards early. Review the San Diego ADU requirements (opens in a new tab) or the Los Angeles standards (opens in a new tab) to ensure your floor plan respects local height limits and floor area ratios. Your design must also integrate California Title 24 energy efficiency standards, which dictate insulation levels, window performance, and water heating efficiency.
The Permit Submittal Timeline
Once your plans are ready, they enter the municipal review process. In cities like Los Angeles, this typically takes between 4 and 16 weeks. It's rare for a project to be approved on the first pass. You should expect "redlines" or "corrections" from the building department. These are requests for more detail or minor adjustments to meet specific codes. Your designer will handle these through a "Request for Information" (RFI) process. Your goal is to achieve "Ready to Issue" (RTI) status. Only when you have the RTI in hand is it safe to mobilize equipment and start the physical work. Including these buffer periods in your adu pre construction checklist prevents the frustration of paying for a contractor who is stuck waiting for a signature at city hall.
Step 4: Vetting and Selecting Your ADU Contractor
Selecting a builder is the most high-stakes entry on your adu pre construction checklist. A "vetted contractor" isn't just someone with a truck; they must hold a valid California license, active workers' comp, and general liability insurance. Most importantly, they need recent experience with detached or attached secondary dwellings. You're building a new home, not just updating a bathroom. This requires a professional who understands the specific technical demands of backyard construction.
A general remodeler might be excellent at interior work, but they often lack the expertise needed for a ground-up ADU. These projects involve complex utility tie-ins, separate structural foundations, and strict adherence to the 2026 California building codes. When you review bids, look beyond the bottom line. A suspiciously low price often hides a lack of detail. If the contractor hasn't itemized site preparation or utility trenching, you'll likely face expensive change orders once the project is underway. Demand references for California projects completed in 2025 or 2026. This confirms the builder is currently active and successfully navigating today's local permit environments.
The 3-Bid Rule and Comparison Framework
Always solicit at least three itemized bids. This allows you to compare costs for materials and labor on an apples-to-apples basis. Before you sign anything, verify the contractor's status on the California State License Board (CSLB) website. Ensure their license is active and they have a current bond on file. If you want to skip the manual search, use the ADUDesk Contractor Matching Service (opens in a new tab) to find pros who have already been pre-screened for these standards. This service bridges the gap between your design plans and a shovel-ready project.
Critical Questions for Your Builder
Interview your potential builders with a focus on local expertise and project management. Backyard construction is invasive, so you need a partner who respects your property and your neighbors. Ask these specific questions:
- Local Experience: "How many ADUs have you permitted in this specific city in the last year?" Rules in Los Angeles differ from those in San Diego; you need a builder who knows the local inspectors.
- On-Site Supervision: "Who is the dedicated project manager for my backyard site?" You don't want a "ghost" contractor who only appears when a check is due.
- Logistics: "How do you handle utility trenching and neighbor property protection?" Clear plans for dust control and noise management are essential for maintaining good relations with your community.
Once you've found a builder who provides transparent answers and a detailed bid, you're ready to finalize your team. If you're still looking for the right fit, you can match with a vetted ADU contractor (opens in a new tab) today to ensure your project stays on track and within budget.
Step 5: The Final Shovel-Ready Checklist
You've vetted your builder and secured your funding. Now, you must cross the final items off your adu pre construction checklist to ensure a smooth transition from planning to physical construction. This stage is about logistics and risk management. It's the moment where you formalize your partnership with your contractor and prepare your property for the arrival of heavy machinery and trade crews. Success here prevents the "day one" delays that often plague poorly organized projects.
Establish a clear communication protocol before the first hammer swings. Decide if you will use a dedicated construction management app, email threads, or standing weekly meetings. Having a single, recorded channel for updates prevents misunderstandings regarding change orders or schedule shifts. You should also introduce your project manager to your neighbors. Construction is invasive, especially in tight California backyards. Notifying neighbors about upcoming noise, dust, and staging areas builds goodwill and helps avoid complaints to city code enforcement.
Contract and Legal Finalization
Review the final construction contract with a focus on the "Scope of Work." This document should be exhaustive. It must specify who is responsible for debris removal, portable toilets for the crew, and the protection of your existing landscaping. Verify that your builder's General Liability and Workers' Comp insurance policies are active. You can request a "Certificate of Insurance" that names you as an additional insured for the duration of the project. Most importantly, sign the "Notice to Proceed" only after you have the physical permit in your hand. Starting work with a "pending" permit is a risk that can lead to stop-work orders and heavy fines from your municipality.
Preparing Your Property for Impact
Physical site preparation is the final hurdle. You need to clear the path for progress. Focus on these three areas to ensure your site is ready for the crew:
- Access and Staging: Identify the "Construction Zone" and the specific "Access Path" for machinery. If you have a narrow side yard, you may need to temporarily remove fence panels or relocate irrigation lines to prevent damage.
- Logistics and Permits: Check with your city to see if you need temporary parking permits for contractor vehicles or "No Parking" signs for material delivery days. This is especially critical in high-density areas like Los Angeles or San Francisco.
- The Project Binder: Set up a physical or digital binder to store all permits, receipts, and city-signed inspection cards. This adu pre construction checklist item is essential for your final "Certificate of Occupancy" and for future property appraisals.
Once your site is marked, your property lines are verified, and your project binder is ready, you've officially moved from the planning phase to the build. You can now break ground with the confidence that every technical and legal detail has been managed with professional precision.
Launching Your Shovel-Ready ADU Project
Mastering the pre-construction phase is the most effective way to protect your investment and avoid the "permit purgatory" that many homeowners fear. By prioritizing site feasibility and accounting for technical soft costs early, you ensure that your build is based on reality rather than guesswork. This adu pre construction checklist provides the linear roadmap needed to move from a backyard concept to a fully permitted structure with confidence.
You don't have to navigate these complex regulations alone. Success depends on having the right data and the right partners at every milestone. Whether you're verifying setbacks or finalizing your construction documents, our platform provides access to local CA zoning experts and free feasibility and cost estimation tools to keep your project on track. Once your plans are ready, you can tap into our database of verified California builders to ensure your unit is constructed by a true specialist.
Ready to take the final step toward breaking ground? Match with Vetted ADU Contractors Near You (opens in a new tab) today and start your build with a partner you can trust. Your new space is closer than you think.
Frequently Asked Questions
How long does the ADU pre-construction phase typically take in California?
The pre-construction phase in California typically takes between 6 and 12 months. This timeline includes site feasibility, design, engineering, and the municipal review process. While state laws have streamlined approvals, local permit timelines in cities like Los Angeles still range from 4 to 16 weeks. Starting your adu pre construction checklist early allows you to manage these administrative hurdles without delaying your builder's start date.
Do I need a separate address or utility meter for my ADU?
You will receive a separate address, but a separate utility meter is often optional for homeowners. Most jurisdictions assign a unit designation like "Unit B" or a fractional address for mail delivery. While you can often "sub-meter" utilities from the primary house, installing separate city meters is a smart choice for long-term rentals. This allows tenants to pay their own bills directly, though it adds to your initial connection fees.
Can I start construction before my ADU permit is fully approved?
No, you cannot legally begin any construction until your permit reaches "Ready to Issue" (RTI) status. Mobilizing equipment or pouring concrete before final approval can result in heavy municipal fines and mandatory stop-work orders. It's essential to follow your adu pre construction checklist and wait for the physical permit. This ensures your project is fully compliant with 2026 safety standards and protected by your builder's insurance.
What is the most expensive part of ADU pre-construction?
Architectural design and structural engineering are usually the most significant pre-construction expenses. These "soft costs" ensure your unit is safe and energy-efficient. Other major expenses include utility connection fees and, for units over 750 square feet, local impact fees. Properly budgeting for these items during the feasibility stage prevents financial strain once the project moves into the more expensive physical construction phase.
Is a soil report always required for a backyard ADU?
A soil report is not always mandatory but is frequently required for specific lot conditions. If your property is located on a steep slope, in a known liquefaction zone, or has expansive soil, the city will likely demand a geotechnical report. This report guides your structural engineer in designing a foundation that won't crack or shift. Always check with your local building department during the initial feasibility review to confirm requirements.
How do I know if my electrical panel needs an upgrade for an ADU?
You likely need an upgrade if your current main service panel is rated for 100 amps or less. Most modern, all-electric ADUs require significant power for HVAC systems, water heaters, and appliances. Upgrading to a 200-amp panel is a standard requirement for many backyard builds. A licensed electrician can perform a "load calculation" to determine if your existing infrastructure can safely support the added demand of a secondary dwelling.
What are the California solar requirements for new ADUs in 2026?
California requires solar panels for all new, detached ADUs as part of the Title 24 energy standards. This mandate applies to ground-up construction but generally excludes Junior ADUs (JADUs) and garage conversions that stay within the existing building footprint. You can meet this requirement by installing a dedicated solar array on the ADU roof or by expanding the existing solar system on your primary residence to cover the new unit's load.
Can I use a pre-approved ADU plan to speed up the process?
You can absolutely use pre-approved plans to accelerate your project. Many California cities offer "standard plans" that have already been vetted for structural and building code compliance. Using these designs can shave weeks off the plan check process and significantly reduce your architectural fees. However, you still need a site-specific plot plan to show how the pre-approved unit fits within your property's setbacks and utility easements.